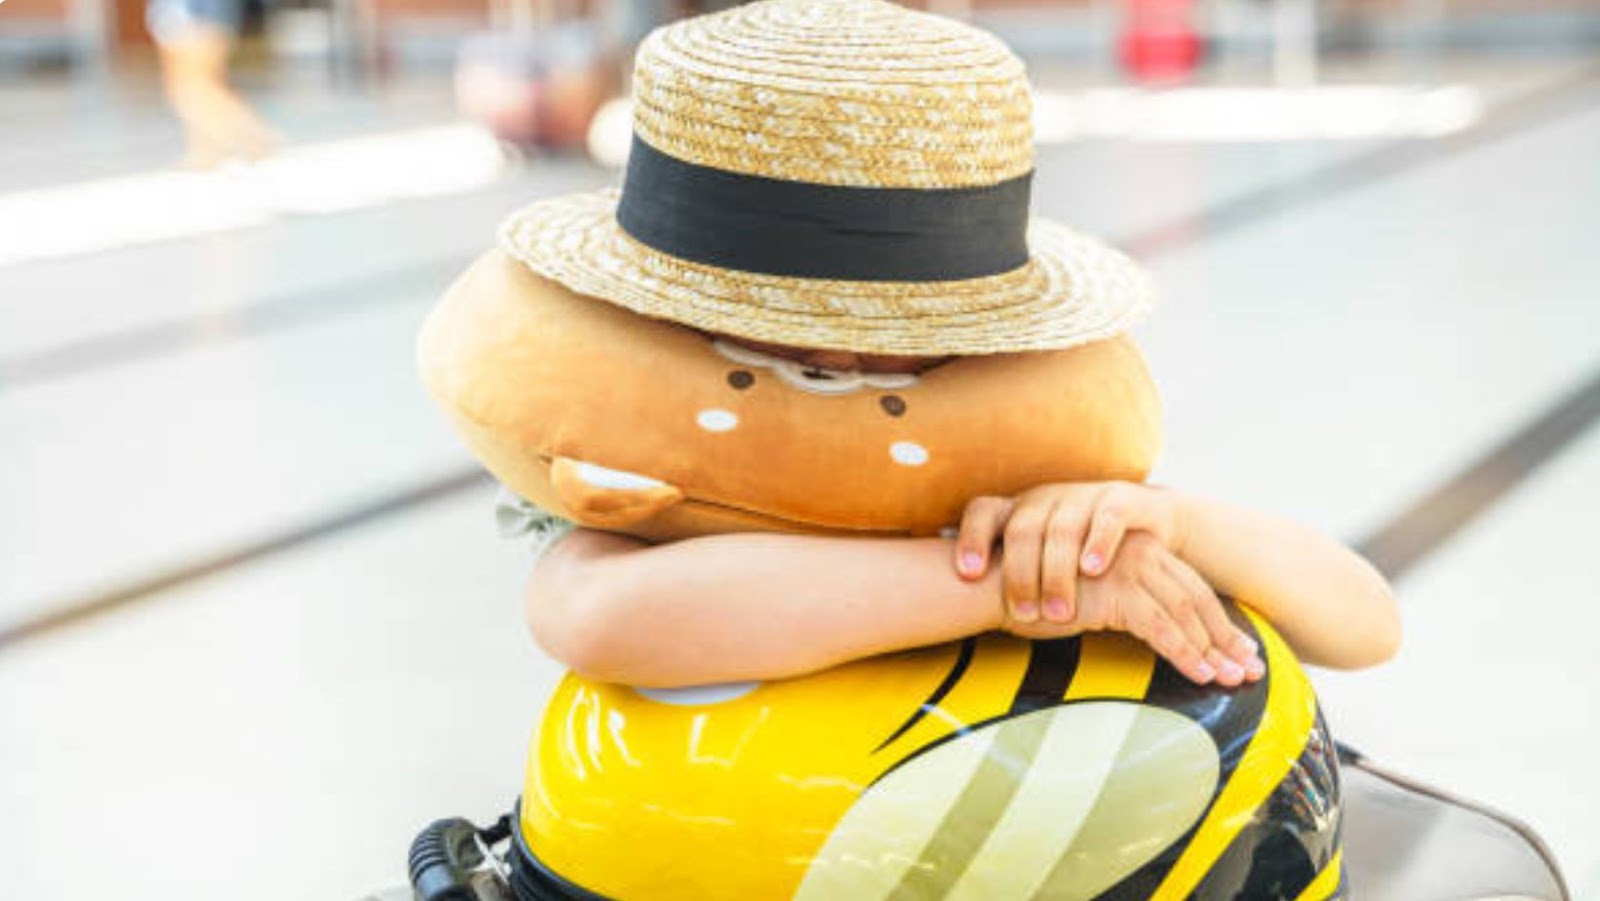
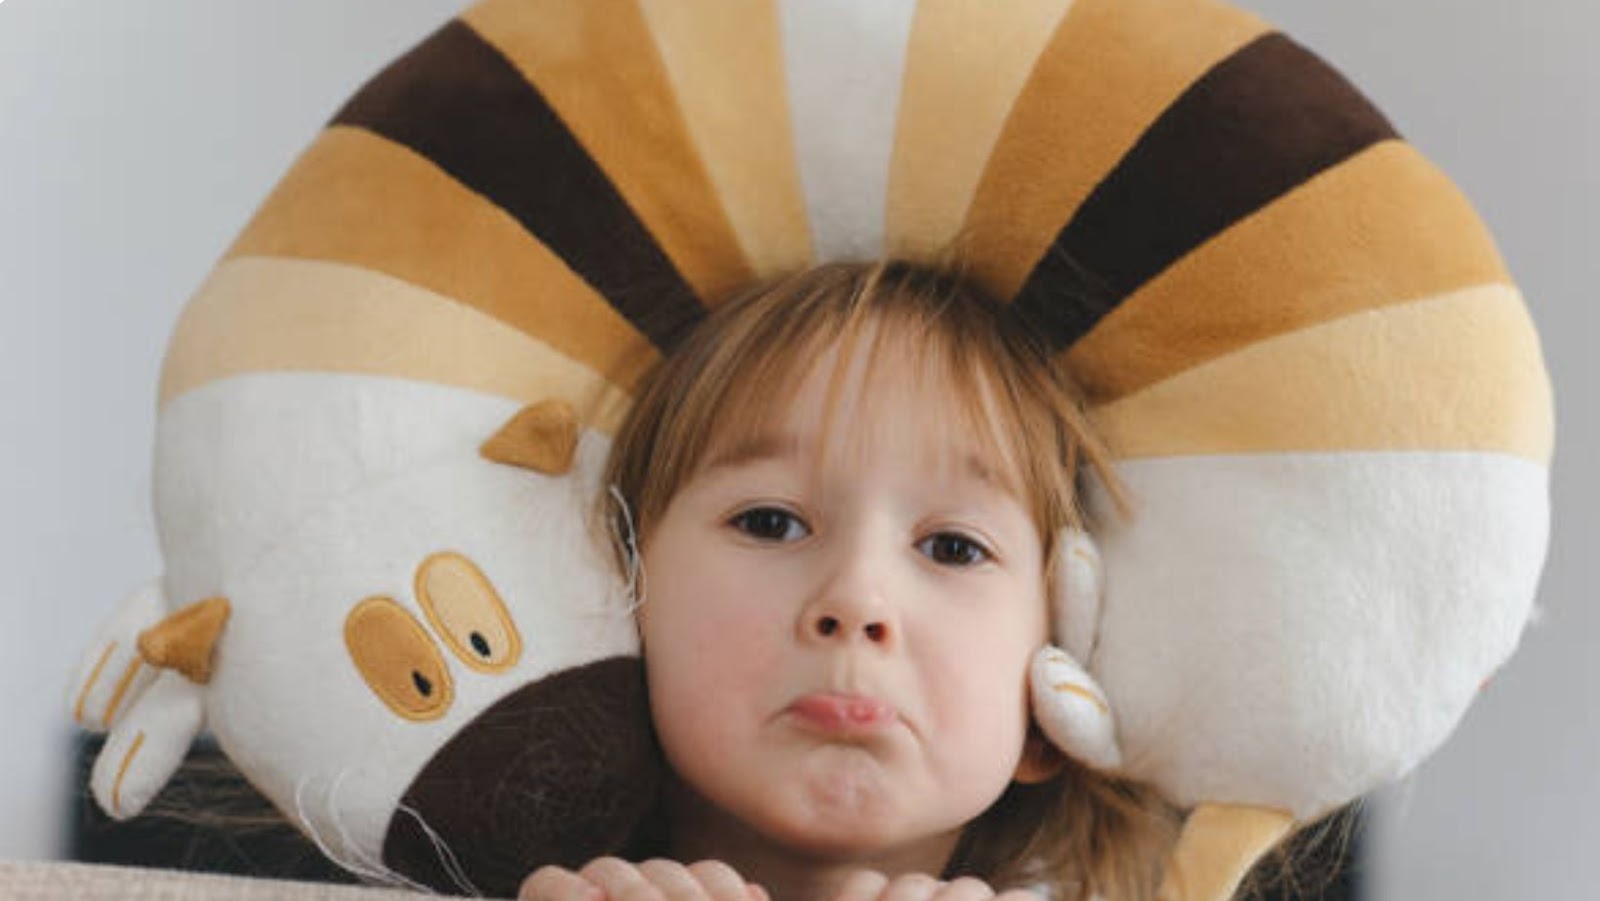
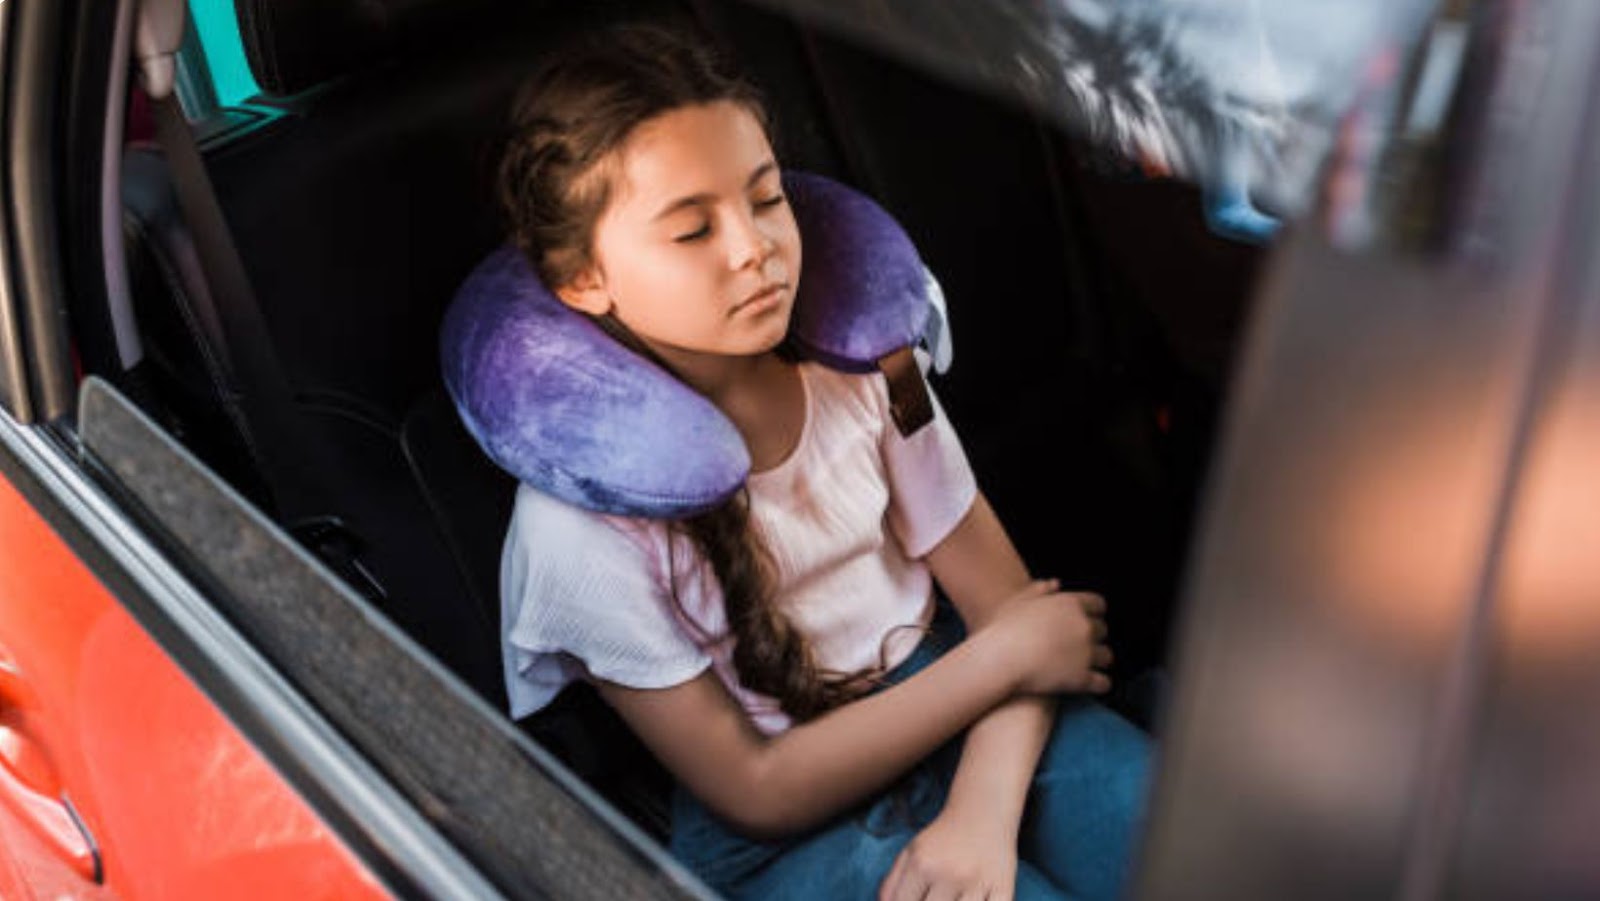
Traveling with kids can be challenging, especially when it comes to ensuring they are comfortable and well-rested during long journeys on planes, trains, or cars. That’s where a travel pillow can come in handy, and making one for your child can be a fun and rewarding project. In this article, I’ll show you how to make a travel pillow for kids that is comfortable and easy to pack and carry.
You’ll need some basic supplies, including fabric, stuffing, a needle, and thread. The size of the pillow will depend on your child’s age and preference, but I recommend using a 12×16 inch piece of fabric for younger kids and a 14×20 inch piece for older children. Once your fabric is cut to size, fold it in half with the printed side facing inwards, and sew the shorter sides together, leaving one of the long sides open.
Next, turn the fabric right side out and stuff it with your filling of choice. You can use anything from polyester fiberfill to rice or buckwheat hulls, depending on how firm you want the pillow to be. Once you’ve filled the cushion to your desired level, fold the open edges inwards and sew them shut using a whipstitch or a ladder stitch.
Finally, to make the pillow easy to carry, add two ties to the shorter sides of the pad, about three inches from the edges. These ties can be made from the same fabric you used for the buffer or from ribbon, allowing you to roll up the pillow and secure it easily.
Following these simple steps, you can create a personalized travel pillow that your child will love and cherish for years. It will provide them with comfort and support on long trips and show them the love and care you put into making it just for them.
how to make a travel pillow for kids
When it comes to making a travel pillow for kids, choosing the right fabric is crucial. Not only do you want something soft and comfortable, but you also want it to be durable and easy to clean. Here are some tips on how to choose the right fabric for your kid’s travel pillow:
- Consider the Season: You’ll want to consider when the travel pillow will be used. Lightweight cotton or flannel fabrics are great for warm weather, while heavier fleece or wool fabrics are ideal for cold weather.
- Look for Easy Care: Travel pillows can get dirty quickly, so choosing a fabric that is easy to clean is essential. Look for machine washable and dryable materials, and avoid anything that requires special care.
- Think About Texture: The texture of the fabric you choose can greatly impact how comfortable the travel pillow will be. Look for soft fabrics like cotton or flannel or a plush or minky fabric for added comfort.
- Consider Design and Color: Kids love bright colors and fun designs, so consider choosing a colorful and playful fabric. Look for fabrics with fun patterns or prints that your child will love.
- Go for Breathability: Breathable fabrics like cotton and bamboo are perfect for travel pillows because they allow air to flow through and prevent the pad from getting too hot.
By considering these factors when choosing the fabric for your kid’s travel pillow, you can create a comfortable and durable pillow that your child will love using on all of your family vacations.
Cutting and Sewing the Pieces
Now that we have all the materials needed, it’s time to start cutting and sewing the pieces for our travel pillow. Follow the steps below to make your travel pillow for kids:
- Cut two pieces of fabric for the pillowcase measuring 12×16 inches each.
- Cut two pieces of material for the pillowcase flap measuring 6×12 inches each.
- Cut two pieces of fusible fleece measuring 12×16 inches each.
- Iron the fusible fleece onto the wrong sides of the fabric pieces for the pillowcase.
- Place the two pieces of pillowcase fabric right sides together and sew along three sides, leaving one of the shorter sides open.
- Turn the fabric right side out and press.
- Fold one of the pieces of fabric for the pillowcase flap in half lengthwise with right sides together and sew along the two short ends.
- Turn the fabric right side out and press.
- Place the pillowcase flap between the two pieces of pillowcase fabric, aligning the raw edges.
- Sew around the open side, securing the pillowcase flap in place.
- Turn the travel pillow case right side out.
- Insert the pillow form.
- Turn the raw edges of the open side of the pillowcase under and sew it shut by hand.
Your travel pillow for kids is now complete! Try different fabrics and patterns to create a unique travel accessory for your kids. With these simple steps on how to make a travel pillow for kids, you can make a personalized and comfortable travel pillow for your child’s next adventure.
Adding the Final Touches:
Now that you have completed the main part of making a travel pillow for kids, it’s time to add the final touches. Here are a few steps to complete your project:
- Fill the Travel Pillow: Fill your pillow with stuffing material such as cotton or a soft microfiber filling. Make sure to fill it up to the desired level of firmness.
- Stitch the Opening: Close the opening of the pillow using a needle and thread in a running stitch pattern. Make sure to stitch around the pillow and lock the line in place.
- Add Some Fun: You can add personality to your travel pillow by adding decorative elements such as patches, embroidery, or fabric paint. This is a great way to make your pillow stand out and is perfect for kids who want a unique and personalized travel accessory.
- Clean Up: Trim any excess thread, and if needed, use an iron to flatten the pillow and give it a professional finish.
Congratulations! You have made a comfortable and convenient travel pillow for kids useful during long car rides or plane trips. Enjoy your project and happy travels!